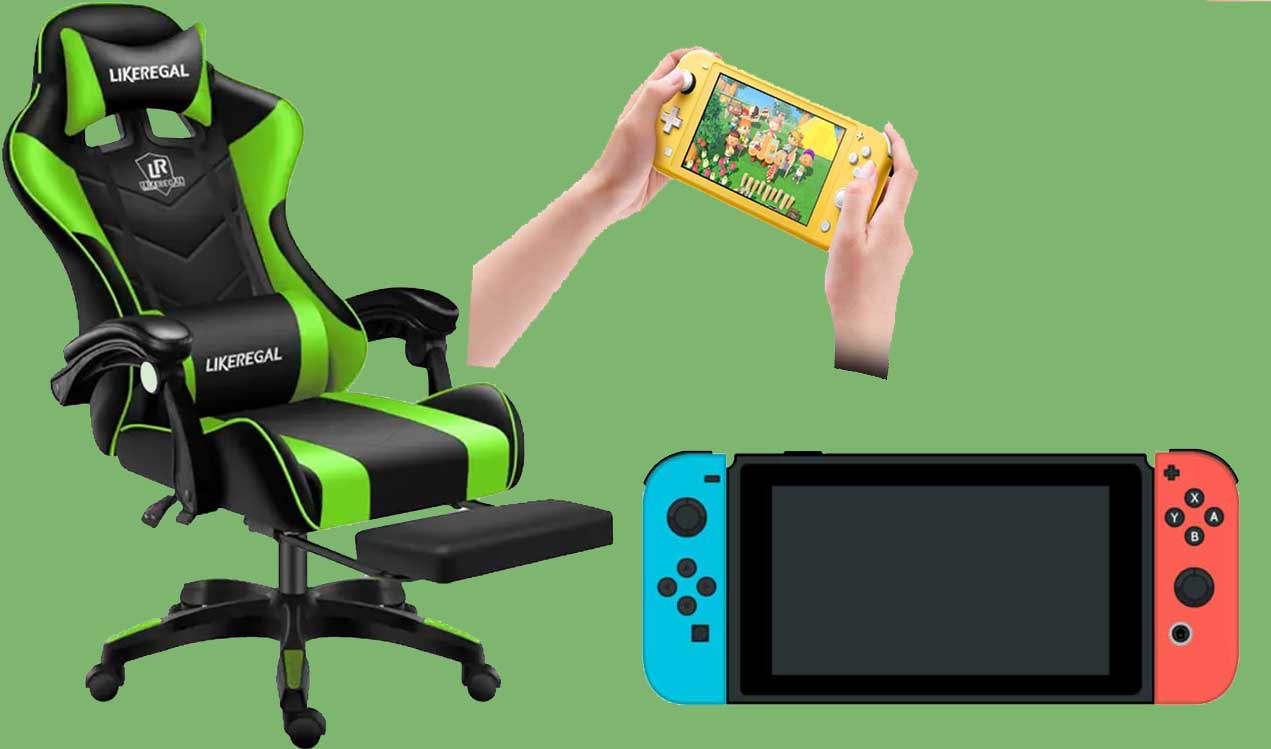
To connect a Nintendo Switch to a gaming chair, use either the 3.5mm audio cable or Bluetooth transmitter if supported. Select the correct audio output settings on the Switch to pair.
Gaming enthusiasts are always on the lookout for ways to enhance their experience, and integrating a Nintendo Switch with a gaming chair does just that. This straightforward process can amplify your gaming sessions, providing immersive audio that syncs perfectly with the on-screen action.
Whether your chair has built-in speakers or you’re using a wireless headset, ensuring your Switch is properly connected is crucial for optimal gameplay. Not only does it enhance audio quality, but it also adds a new layer of interaction, making long gaming sessions more comfortable and engaging. With the correct setup, you’ll be ready to dive into your favorite games with superior sound in no time.
Assessing Gaming Chair Connectivity Options
Immersive gaming experiences often hinge on more than just visuals and gameplay; how you connect your Nintendo Switch to a gaming chair can amplify your enjoyment. To ensure a seamless integration between your console and your gaming throne, understanding the various connectivity options is crucial. Some chairs offer a plethora of features like built-in audio inputs and wireless connectivity, while others might have a straightforward setup. Let’s delve into what you need to consider for an optimal gaming setup.
Identify Audio Input Options On Your Chair
Enhanced audio can drastically improve the gaming ambiance. It’s vital to determine what audio inputs your gaming chair supports. Options may range from standard 3.5mm headphone jacks to RCA inputs. Chairs with multiple input options provide flexibility, allowing you to choose the best audio connection that suits your setup.
- 3.5mm Headphone Jack: Universal and easily accessible for most devices.
- RCA Inputs: Ideal for stereo sound, though may require an adapter.
- Bluetooth: For chairs with wireless capabilities, which leads us to the next point.
Recognize Chair’s Wireless Connectivity Capabilities
Gaming chairs with wireless connectivity allow for a clutter-free space, avoiding the hassle of cables. Check if your chair offers Bluetooth support or connects via a wireless transmitter. The latter might require a separate dongle to interface with your Nintendo Switch.
| Connectivity Type | Description |
|---|---|
| Bluetooth | Direct wireless connection, can be subject to interference. |
| Wireless Transmitter | Requires dongle, usually offers stable connection. |
Understand Built-in Control Panels, If Any
Some gaming chairs feature built-in control panels. These panels can be critical in managing audio settings without disrupting your gameplay. Features might include volume control, bass adjustments, and sometimes even vibration intensity. Familiarize yourself with these controls to enhance your gaming experience.
- Locate the panel, usually on the side armrest or the side of the seat.
- Identify the buttons and knobs – they could control power, volume, bass, and possibly input selection.
- Understand the connectivity indicators, such as LED lights, that signal active connections.
Gathering Necessary Cables And Accessories
Setting up your Nintendo Switch to synchronize with a gaming chair for an enhanced audio experience involves a bit of preparation. The first crucial step is to gather all the necessary cables and accessories required for the connection. Whether you prefer a wired setup for its reliability or a wireless one for its freedom, ensuring you have the right equipment on hand will streamline the process and get you ready for an immersive gaming session.
List Of Cables Required For Wired Connection
For a wired connection, the types of cables you will need depend on the specific gaming chair and Nintendo Switch model. Here’s a general list of cables most commonly required:
- 3.5mm audio cable
- HDMI cable
- USB to Micro-USB or USB-C cable (depending on your chair’s connection port)
Ensure you have these cables of sufficient length to comfortably reach from your gaming chair to where your Nintendo Switch is docked without causing any strain or creating potential tripping hazards.
Bluetooth Transmitter For Wireless Setup
To set up a wireless connection, you may need a Bluetooth transmitter if your gaming chair does not have Bluetooth in-built. This device will plug into the Nintendo Switch’s audio port, enabling a wireless connection to your gaming chair:
- Check the Nintendo Switch’s compatibility with your chosen Bluetooth transmitter.
- Ensure that the transmitter supports the audio profile necessary for a seamless connection with the gaming chair.
- Charge the transmitter if required before attempting the setup.
Ensure A Compatible Audio Jack Or Adapter Is Available
The Nintendo Switch comes equipped with a standard 3.5mm headphone jack. To connect it to your gaming chair, it is imperative that the chair has a compatible audio input. If not, find an appropriate adapter that converts the chair’s input to a compatible format. Examples include:
- 3.5mm male to RCA stereo female adapter
- 3.5mm female to 2.5mm male converter
Check your gaming chair’s manual for the exact specifications and purchase adapters accordingly to ensure a smooth, uninterrupted audio transmission.
Note: Always power off both the Nintendo Switch and the gaming chair before making any cable connections to avoid the risk of short-circuiting.
Wired Connection Setup Process
Embarking on an immersive gaming session with your Nintendo Switch means ensuring all your equipment is flawlessly connected, including your gaming chair. For those with chairs that offer built-in speakers and rumble features, connecting your Nintendo Switch directly can vastly improve your gaming experience. The Wired Connection Setup Process is straightforward and provides a direct link, minimizing any potential audio lag.
Step-by-step guide to connect via audio cableStep-by-step Guide To Connect Via Audio Cable
Setting up a wired connection between your Nintendo Switch and gaming chair needn’t be a daunting task. Follow this simple guide to connect your devices using an audio cable.
- Ensure your Nintendo Switch is powered off before starting the connection process.
- Locate the audio output jack on the Nintendo Switch dock. This is typically a 3.5mm port on the top or side of the dock.
- Take your audio cable with a 3.5mm jack, often referred to as an AUX cable, and insert one end into the Nintendo Switch dock’s audio output.
- Connect the other end of the audio cable to the input on your gaming chair. If your chair has multiple input options, refer to the manual for the recommended connection.
- Power on your Nintendo Switch and gaming chair. You should now be all set to enjoy the integrated audio from your chair.
Handling Audio Settings On The Nintendo Switch
Once the physical connection is in place, adjusting the audio settings on your Nintendo Switch ensures you get the best sound quality.
- Head to the ‘System Settings’ on your Nintendo Switch Home screen.
- Scroll down and select ‘Sound’.
- Under the ‘TV Output’ menu, ensure the volume is turned up and not muted.
- Adjust the ‘TV Sound’ to stereo for the most dynamic audio experience with your gaming chair.
Securing Cables For Safety And Functionality
Keeping your gaming area tidy and safe is critical, especially when incorporating more cables into your setup. Secure your connections to avoid tripping hazards and ensure long-term functionality.
- Use cable clips or ties to bundle any excess cable length.
- Stick to the underside of your gaming desk or along the edges to keep cables out of sight.
- Avoid stretching cables tightly between devices; allow some slack for movement.
- Check connections periodically to confirm they’re tight and not fraying.
Enabling Wireless Audio Connection
Embarking on an immersive gaming journey with your Nintendo Switch often calls for an equally engaging audio experience. To enhance this, connecting your Switch to a gaming chair with a wireless audio connection can around your gameplay. This section will guide you through setting up a wireless audio link between your Nintendo Switch and gaming chair.
Pairing Gaming Chair With Bluetooth Transmitter
The first step to wireless audio nirvana is the addition of a Bluetooth transmitter to your Nintendo Switch setup, as the console doesn’t support Bluetooth audio natively. The transmitter will serve as a bridge, relaying audio signals to your gaming chair.
- Ensure your Bluetooth transmitter is compatible with the Nintendo Switch and gaming chair.
- Plug the transmitter into the Switch’s USB port or headphone jack, depending on your model and its requirements.
- Power on the transmitter and activate the pairing mode. This usually involves holding a button until a light flashes, indicating readiness to connect.
- Switch your gaming chair to pairing mode. Look for a Bluetooth button or refer to the chair’s manual for specific instructions.
- Once the transmitter and chair detect each other, confirm the pairing on the devices, and the LED indicator on both the transmitter and chair should steady, signaling a successful connection.
Adjusting Nintendo Switch Settings For Bluetooth
Now that your devices are paired, you may need to adjust a few settings on your Nintendo Switch to ensure optimal audio delivery. While the console doesn’t output Bluetooth audio by default, the attached transmitter takes care of the conversion of audio signals.
- Go to the Switch’s Home menu; then navigate to System Settings.
- Scroll down to the ‘Sound’ settings.
- Under ‘Output,’ you might need to toggle the option that enables audio to be sent via the headphone jack even when the console is docked (for transmitters using the headphone jack).
Troubleshooting Common Wireless Connectivity Issues
If you encounter issues where your Switch isn’t relaying audio to your gaming chair, the following troubleshooting steps can help you get back on track:
| Issue | Solution |
|---|---|
| No Sound | Confirm the gaming chair is on and the volume is turned up. Make sure the transmitter is correctly plugged in and paired. |
| Interrupted Audio | Stay within the effective range of the Bluetooth transmitter and ensure there’s no interference from other devices. |
| Unable to Pair | Reset the Bluetooth transmitter and gaming chair, then attempt to pair them again. Consult the user manuals for device-specific instructions. |
Enhancing Your Gaming Experience
How to Connect Nintendo Switch to Gaming Chair. The Nintendo Switch has taken the gaming world by storm, providing an innovative hybrid console that gamers can enjoy both on the go and in the comfort of their homes. To truly elevate the gaming experience, pairing your Switch with a top-notch gaming chair is a game changer. The right setup not only immerses you into the heart of the action but also ensures hours of comfortable play. Let’s delve into the specifics of connecting your Nintendo Switch to a gaming chair and optimizing your gaming haven for maximum enjoyment and durability.
Optimal Audio Settings For Gaming Immersion
Transform your gaming chair into an epicenter of immersive audio that lets you catch every in-game footstep, dialogue, and soundtrack note.
- Start by connecting the chair’s audio input to your Nintendo Switch’s dock using the appropriate cable – typically, a 3.5mm audio cable or Bluetooth connection for wireless models.
- Navigate to the Switch’s Home menu, select ‘System Settings,’ then ‘Sound,’ and adjust the ‘TV Output’ to stereo to channel sound through your gaming chair.
- Calibrate the chair’s built-in speakers or headrest audio to find the perfect balance between bass and treble for an enveloping sound landscape.
- If your chair supports it, enable surround sound features to heighten the sense of in-game directionality and spatial awareness.
Accessorizing Chair For Comfort And Convenience
An elite gaming setup is not just about impressive sound and visuals but also about maintaining peak comfort and accessibility.
| Accessory | Function | Benefit |
|---|---|---|
| Additional Cushions | Support for back and neck | Reduces strain during extended gaming sessions |
| Cup Holder Attachment | Convenient drink storage | Keeps hydration at arm’s reach without pausing the game |
| Storage Pockets | Organized accessory containment | Keeps gaming essentials like controllers and headphones nearby |
Maintenance Tips For A Lasting Setup
To preserve the quality of your gaming chair and ensure it continues to be a cornerstone of your gaming experience, regular maintenance is key.
- Wipe down the chair with a clean, dry cloth to keep it free from dust and grime.
- For models with upholstery, use a suitable cleaner to address any spills or stains promptly, preventing long-term damage.
- Inspect all cables and connections periodically for wear and tear to avoid audio or power disruptions.
- Follow manufacturer guidelines for weight limits and suggested usage to preserve structural integrity over time.
Frequently Asked Questions For How To Connect Nintendo Switch To Gaming Chair
Can The Nintendo Switch Connect To Gaming Chairs?
Yes, the Nintendo Switch can connect to gaming chairs. Most modern chairs support Bluetooth or come with auxiliary ports to facilitate the connection. Ensure your chair’s compatibility to guarantee a seamless setup.
What Cables Do I Need To Connect Switch To A Chair?
To connect a Nintendo Switch to a gaming chair, you typically need an auxiliary audio cable (3. 5mm jack) or an HDMI converter. The exact type depends on your chair’s connectivity options and your Switch’s output.
Does Bluetooth Allow Switch-to-chair Audio Connection?
Bluetooth can enable wireless audio from a Nintendo Switch to a gaming chair if both devices support Bluetooth connectivity. Check your chair’s manual for Bluetooth pairing instructions specific to your model.
Are All Gaming Chairs Compatible With The Nintendo Switch?
Not all gaming chairs are compatible with the Nintendo Switch. Compatibility depends on the chair’s audio input options and connectivity features. Prior to purchase, confirm that your gaming chair supports external audio sources.
Conclusion
Wrapping up your setup couldn’t be simpler. By following the steps provided, your Nintendo Switch should now enhance your gaming chair experience. Enjoy immersive gameplay with your newly connected system. Always remember to check compatibility and update your gear as needed.
Game on and embrace the adventure awaiting you.